How to Fix Controller Stick Drift: PS, Xbox, Switch, PC
Fixing controller stick drift means working a short ladder of fixes, cheapest first, from a firmware update and a recalibration up to replacing the worn stick module.
How to fix controller stick drift on PS4, PS5, Xbox, Switch, and PC: the software fix ladder, per-platform steps, and when to swap the stick module.
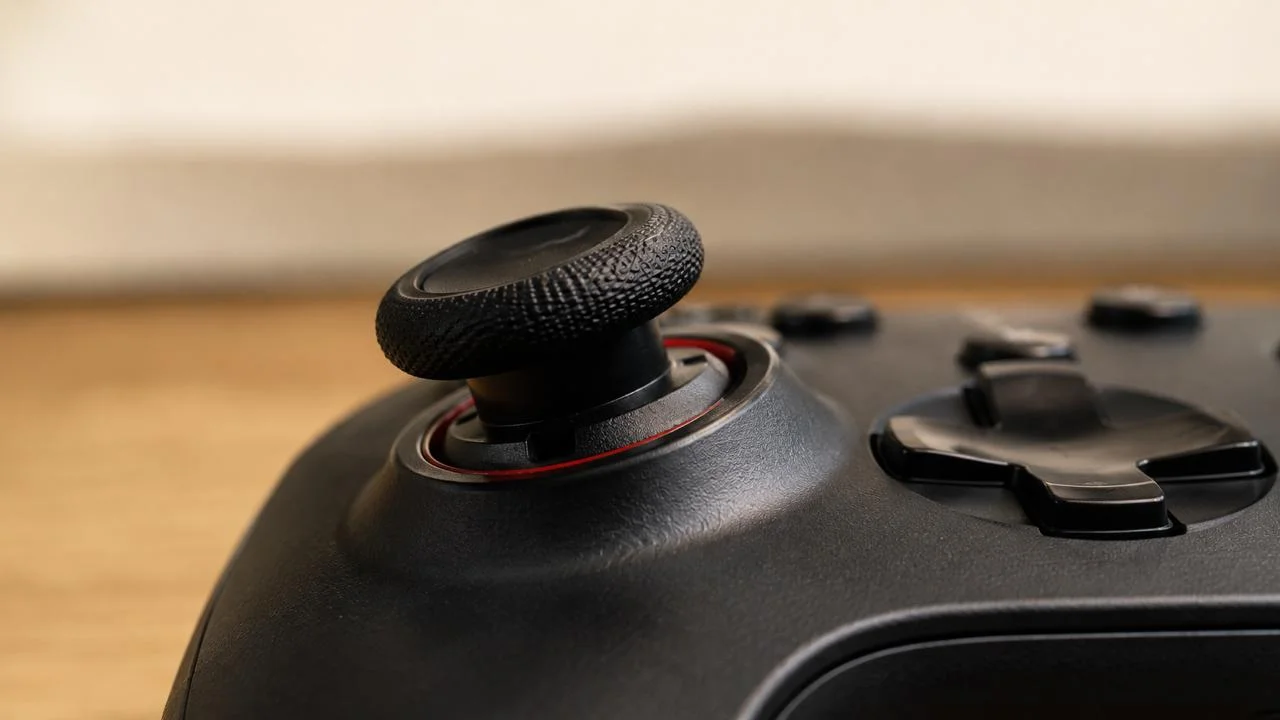
Fixing controller stick drift means working a short ladder of fixes, cheapest first, from a firmware update and a recalibration up to replacing the worn stick module. The right rung depends on your platform and on whether the drift is light or severe. If you are not yet sure the drift is real, the stick drift explainer covers what drift is and how to confirm it; the fastest confirmation is to rest the stick in the controller tester and watch the at-rest reading.
This page is the action guide. It routes you to the correct fix for a PS4, PS5, Xbox, Switch, or PC controller, and it is built around one loop: test, fix, re-test. Confirm the drift, apply the platform fix, then re-test to prove it worked instead of guessing.
Key takeaways
- Work the fix ladder cheapest first: firmware update, recalibration, wider dead zone, a clean, then a stick-module swap.
- Recalibration and dead zones mask light drift; they cannot rebuild a worn potentiometer, so they are not a real fix for heavy drift.
- Each platform has a different software path, and the PS4 DualShock 4 has no on-console calibration menu at all.
- The durable fix for a worn module is a replacement, ideally a drift-resistant Hall-effect or TMR stick.
- Re-test in a browser after every fix; a steady at-rest reading near zero is how you know the fix held.
◆ VERIFIED
Recalibration and dead-zone settings only re-map or hide the analog signal. They cannot restore a worn carbon potentiometer track, because the wear is physical contact damage between the wiper and the resistive surface. Hall-effect and TMR modules avoid that path entirely: they sense a magnet’s field without the stick and sensor ever touching, per the W3C Gamepad API model of normalized stick values and Allegro Microsystems’ Hall-sensor documentation.
Source: W3C Gamepad API specification
Skip the reading: confirm the drift in 30 seconds
- Open JoyCheck and connect your pad over USB or Bluetooth, then press any button so the browser sees it.
- Set the controller flat on a table with your hands off both sticks.
- Watch the analog stick X and Y values for a full 30 seconds.
- A steady non-zero at-rest reading is hardware drift. A reading that holds past roughly 0.15 is almost certainly a worn module, not a software glitch.
- Note which stick drifts and how far it reads, then apply the platform fix below and come back to re-test.
How do you fix controller stick drift?
You fix controller stick drift by working a fix ladder from cheapest to most involved, and stopping at the first step that brings the at-rest reading back near zero on a fresh re-test. The ladder is the same on every platform: update the controller firmware, recalibrate, widen the dead zone, clean around the stick base, and finally replace the stick module if the reading stays non-zero.
The order matters because each step treats a different cause. A firmware update can fix a vendor bug. Recalibration re-zeroes a stick that has shifted slightly. A wider dead zone hides a small steady offset. A clean clears grit. A module swap fixes the actual mechanical wear that none of the software steps can touch.
Be honest with yourself about what software can do. Recalibration and dead-zone changes mask drift at the input layer, so the game feels better while the stick keeps degrading underneath. That is fine as a stopgap, but it is not a repair. The browser re-test is what keeps you honest, because it reads the raw signal the controller is actually sending, before any dead zone hides it.
Use the table to route to the right starting point for your platform, then read the matching section below.
| Platform | First thing to try | If that fails |
|---|---|---|
| PS4 (DualShock 4) | Rear pinhole reset, then a PS4 dead-zone fix on PC | Swap the stick module: see the PS4 repair guide |
| PS5 (DualSense) | Firmware update, then the built-in DualSense calibration | Hall-effect or TMR module swap |
| Xbox (One / Series) | Firmware update and dead zones via the Xbox calibration path | Replace the stick module |
| Nintendo Switch (Joy-Con) | Recalibrate in System Settings, then clean the stick base | Free Nintendo repair (US and EU), or a module swap |
| PC (any controller) | Widen the dead zone in Steam Input or DS4Windows | Fix the hardware on its native platform above |
How do I fix PS4 controller drift?
You fix PS4 DualShock 4 drift with the rear pinhole reset first, then a dead-zone adjustment on PC, because the DualShock 4 has no calibration menu on the PS4 console itself. Find the small hole on the back of the pad near the L2 shoulder, press the button inside it with a paperclip for a few seconds while the controller is off, then re-pair it. That reset clears a confused pairing or input state.
The harder truth is that the console gives you no stick-tuning controls, so the real software lever lives on PC. The full PS4 calibration walkthrough covers the pinhole reset and the dead-zone path through Steam Input and DS4Windows in detail. Widen the dead zone just past your measured at-rest reading and the small steady offset stops reaching the game.
Stop trying software when a re-test still shows a steady offset after the reset and the dead-zone change. At that point the DualShock 4 potentiometer is worn, and the lasting fix is a stick-module replacement. The PS4 controller repair guide walks through diagnosing the fault before you buy parts, so you replace the right component rather than guessing.
How do I fix PS5 DualSense drift?
You fix PS5 DualSense drift by updating the controller firmware in the PS5 settings, then using the built-in stick dead-zone adjustment Sony added in a later system software update. Go to Settings, Accessories, Controller, and check for a firmware update first, because Sony has shipped input-handling fixes that way. Then run the on-console dead-zone tuning to compensate for a light steady offset.
A soft reset helps too: power the pad down and press the small pinhole button on the back near the Sony logo. On PC, set the dead zone in Steam Input instead. The DualSense calibration guide covers the soft reset, the firmware check, and the dead-zone path step by step, including the PC route.
Stop with software when the at-rest reading stays non-zero after the firmware update and the dead-zone change. DualSense units made before mid-2023 are the most common drift reports, and a worn module will keep reading offset no matter how you re-zero it. The durable fix is a Hall-effect or TMR module swap, which the TMR vs Hall-effect buying guide compares for lifespan and accuracy.
How do I fix Xbox controller drift?
You fix Xbox controller drift with the Xbox Accessories app, which is Microsoft’s only first-party tuning path on both the console and Windows. Open the app, select your controller, update its firmware, and adjust the stick dead zones. The Elite Series 2 goes further and exposes per-stick sensitivity curves in the same app, so you can shape the response around a small offset.
Firmware and dead-zone tuning compensate for light drift on a Series X, Series S, or Xbox One pad. The Xbox calibration guide walks through the Accessories app, the firmware update, and the stick re-zero, including the Elite-specific curves. Match the dead zone to your measured at-rest reading rather than guessing at a value.
Stop with software when the re-test still shows a steady offset after the firmware update and dead-zone tuning. Elite pads with heavy session hours tend to wear first. A worn potentiometer is a hardware problem, so the lasting fix is a stick-module replacement, again ideally a drift-resistant Hall-effect or TMR unit.
How do I fix Nintendo Switch Joy-Con drift?
You fix Switch Joy-Con drift by recalibrating the stick and cleaning around its base, and the strongest first move is often a free Nintendo repair. Recalibrate under System Settings, Controllers and Sensors, Calibrate Control Sticks, following the on-screen steps. For grit-induced drift, a short burst of compressed air or a little isopropyl alcohol on a swab around the stick base can clear contamination that mimics wear.
Joy-Con are famously drift-prone, and that history matters here. Nintendo acknowledged a Joy-Con stick defect and, under a 2023 class-action settlement, offers free drift repair to affected customers in the US and EU, per Wikipedia’s record of the Joy-Con drift case. Many players still do not realise the repair is free, which makes it the best value route before any paid fix.
Stop with calibration and cleaning when the stick keeps drifting after both. Recalibration cannot rebuild a worn module, so if the symptom returns, treat it as a hardware fix: use the free Nintendo repair where you qualify, or have the stick module replaced, choosing a Hall-effect unit to break the wear cycle.
How do I fix controller drift on PC?
You fix controller drift on PC mainly through the dead zone, which you can set for almost any pad regardless of console origin. The most universal lever is Steam Input: open Steam, go to the controller settings, and widen the left or right stick dead zone just past the at-rest reading you measured in the browser. For a DualShock 4 or DualSense outside Steam, DS4Windows exposes the same dead-zone control.
Per-game dead-zone sliders are a second option, useful when only one title shows the problem. Set the in-game dead zone a notch above your measured offset and the creep stops in that game. To find the exact value to dial in, the deadzone tester shows where your stick rests and how wide the dead zone needs to be.
Be clear about what this does. A software dead zone hides drift at the input layer; it does not repair the stick. So once you have masked the symptom on PC, re-test in the gamepad tester to see the raw signal underneath. If the hardware reading is heavy, the real fix is a module swap done on the controller’s native platform, covered in the repair guide above.
Does recalibration actually fix stick drift?
Recalibration does not actually fix stick drift in most cases; it hides light drift by re-mapping the current resting position as the new zero. That works when the track has shifted slightly but is not yet worn through. It does nothing for a potentiometer whose carbon track is mechanically worn, because re-zeroing a damaged surface still leaves a damaged surface.
Think of recalibration as a 60-second sanity check, not a repair. Run it, then re-test in the browser. If the at-rest reading drops back near zero and stays there across two passes, recalibration was enough and you are done. If the reading returns to a steady offset, you have confirmed the wear is past what software can compensate for.
In fifteen years of hardware-diagnostic work across PC peripherals and game controllers, I have watched recalibration carry the day on only a minority of confirmed-drift controllers. The pads that re-test clean were usually caught early. Once a stick reads a steady offset past the light band, a firmware-side re-zero buys you days, not a fix. The honest move is to re-test, read the raw value, and let the number, not hope, decide whether you reach for a screwdriver.
Taimoor Bamazai, founder, Elites Algorithm Limited
When is stick drift a hardware fix?
Stick drift is a hardware fix when the at-rest reading stays non-zero after you have tried a firmware update, a recalibration, and a wider dead zone. As an engineering rule of thumb, a steady reading past roughly 0.15 almost always means the potentiometer is mechanically worn, and no software setting will bring a worn track back. At that point you are masking a failing part, not fixing it.
The durable repair is replacing the stick module. Replacement modules are inexpensive and, on most controllers, require soldering, so factor in either a soldering iron or a repair shop. The PS4 controller repair guide shows how to confirm the stick is the real fault before you order parts, which keeps you from swapping a healthy module by mistake.
When you do replace the module, choose the sensor that removes the wear path. Traditional potentiometer sticks will eventually drift again because they rely on physical contact. Hall-effect and TMR sticks sense a magnet without contact, so they do not wear the same way. The TMR vs Hall-effect buying guide compares the two on lifespan, accuracy, and cost so you pick the right drop-in.
Then close the loop. After the swap, rest the stick in JoyCheck and confirm the at-rest reading sits near zero across two clean passes. A hardware fix you have not re-tested is a hardware fix you are only assuming worked.
A controller fix is only finished when the re-test agrees with you. Confirm the drift, apply one fix, then re-test before touching anything else, because changing two things at once tells you nothing about which one worked.
Taimoor Bamazai, founder, Elites Algorithm Limited
Sources and references
- W3C Gamepad API specification. The W3C standard defining normalized analog-stick value ranges (-1.0 to +1.0) and the polling interface every modern browser uses to read connected gamepads, which is what a browser-based re-test reads.
- Joy-Con drift on Wikipedia. Documented history of the Nintendo Joy-Con stick defect and the 2023 US class-action settlement that provides free drift repair in the US and EU.
- Allegro Microsystems Hall-effect sensor documentation. Public datasheets describing the contactless magnetic-flux measurement mechanism that lets Hall-effect sensors operate without the friction-wear path that wears out potentiometer sticks.
How do I fix PS4 controller stick drift?
The DualShock 4 has no on-console calibration menu, so the software path is the small pinhole reset on the back near the L2 shoulder, then a dead-zone adjustment on PC through Steam Input or DS4Windows. The reset and dead-zone changes mask light drift only. If a JoyCheck at-rest re-test still reads a steady offset past roughly 0.15, the stick module is worn and needs replacing.
How do I fix PS5 DualSense stick drift?
Update the DualSense firmware through the PS5 Accessories settings, run the built-in stick dead-zone adjustment that Sony added in a later system software update, and soft-reset the pad with the rear pinhole button. On PC, set the dead zone in Steam Input. These steps hide light drift. A worn module still reads non-zero when you re-test it, and the durable fix is a Hall-effect or TMR module swap.
How do I fix Xbox controller stick drift?
Use the Xbox Accessories app on the console or Windows to update the controller firmware and adjust stick dead zones. The Elite Series 2 exposes per-stick sensitivity curves in the same app. Firmware and dead-zone tuning compensate for light drift. If the re-test still shows a steady at-rest offset, the potentiometer is worn and a module replacement is the lasting fix.
How do I fix Nintendo Switch Joy-Con drift?
Recalibrate the stick under System Settings, Controllers and Sensors, Calibrate Control Sticks, and clean around the stick base with compressed air or a little isopropyl alcohol for grit-induced drift. Nintendo offers free Joy-Con drift repair in the US and EU under the 2023 class-action settlement, which is often the best route. A worn module is a hardware fix, not a calibration fix.
How do I fix controller drift on PC?
On PC the most reliable software lever is the dead zone. Set it in Steam Input for any controller, or in DS4Windows for a DualShock 4 or DualSense, and widen it just past the stick's at-rest reading. Per-game dead-zone sliders also work. Software dead zones mask drift at the input layer and do not repair the stick, so re-test in a browser to confirm what the hardware is actually sending.
Does recalibrating a controller actually fix stick drift?
Recalibration re-maps the current at-rest position as the new zero, which hides very light drift. It cannot rebuild a worn carbon potentiometer track, so it does not fix moderate or severe drift. Treat recalibration as a 60-second sanity check. If a fresh browser re-test still reads a steady offset, move to the hardware fix.
When is stick drift a hardware fix instead of a software one?
Stick drift is a hardware fix when the at-rest reading stays non-zero after a firmware update, a recalibration, and a dead-zone adjustment. As an engineering rule of thumb, a steady at-rest reading past roughly 0.15 almost always means the potentiometer is mechanically worn. The durable repair is replacing the stick module, ideally with a drift-resistant Hall-effect or TMR unit.
How do I know a stick-drift fix actually worked?
Re-test the controller in a browser-based tester after every fix and confirm the at-rest reading returns to near zero. Resting the stick and reading the raw value is how you verify a fix rather than guessing in a game where dead zones and sensitivity can hide the truth. Aim for two clean re-tests in a row before you call the controller fixed.
Test your controller in the browser
No install, no account. Your inputs never leave your device.