How to Replace a Controller Analog Stick When Recalibration Cannot Fix Drift
Replacing a controller's analog stick means swapping the physical stick module inside the pad, and it is the right fix once drift is mechanical wear that recalibration can no longer hold.
Controller analog stick replacement, explained: how to tell a worn module from a calibration fault, potentiometer vs Hall-effect swaps, DIY difficulty, and cost by controller.
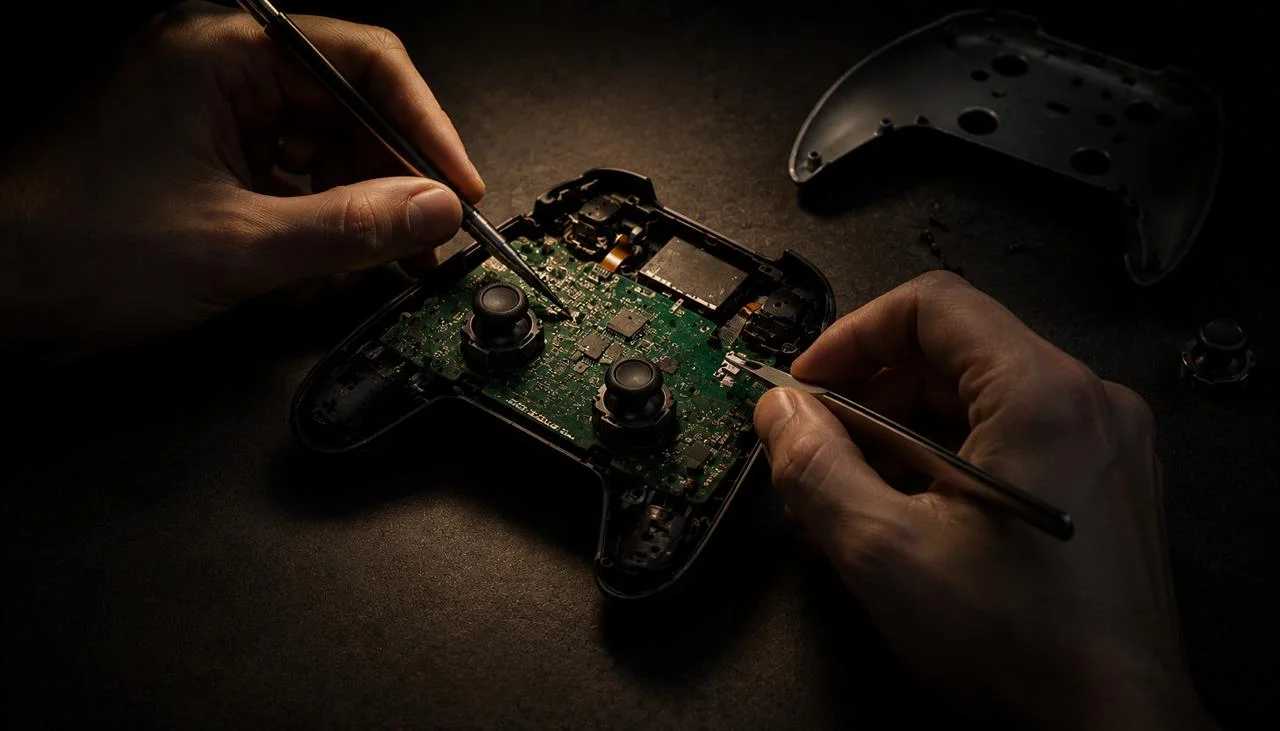
Replacing a controller’s analog stick means swapping the physical stick module inside the controller, and it is the right fix once the drift is mechanical wear that recalibration and deadzone tuning no longer hold. The fastest way to know you are at that point is to read the stick’s resting value in a browser: recalibrate, re-test, and if the offset returns or keeps climbing, the module is worn, not miscalibrated.
Repair ladder · Potentiometer vs Hall-effect · DIY vs shop · 10 min read
Most drift advice sends you straight to a soldering iron. That is often the wrong first move. Replacement sits at the top of a four-rung repair ladder, and the browser test tells you which rung you are actually on before you open anything.
◆ VERIFIED
The W3C Gamepad API reports each analog axis on a normalized -1.0 to +1.0 scale, with 0.0 at the neutral center.[1] JoyCheck reads those raw values directly, so a resting stick that reads a steady offset is reporting real hardware position, before any console or game re-centers it. That raw reading is what separates a worn module from a setting you can still tune.
Source: W3C Gamepad API specification
Key takeaways
- Replacing the stick module is the last rung of a repair ladder: recalibrate, then tune the deadzone, then swap the module, and only upgrade to Hall-effect if you want the drift gone for good.
- A worn module is confirmed by reading the resting value, recalibrating, and watching whether the offset comes back over days; if it does, tuning is done and the hardware needs replacing.
- Standard potentiometer modules are cheap but will drift again; Hall-effect and TMR modules use contactless magnetic sensing and do not have the friction-wear mechanism that causes drift.
- Most modules are soldered to the board, so a self-repair needs desoldering skill and an iron; a few controllers and aftermarket kits use solderless plug-in modules.
- On a budget controller, a shop repair can cost more than a new pad, so the honest answer is sometimes to replace the whole controller.
When should you replace an analog stick instead of recalibrating?
Replace the stick when the drift is mechanical wear, not before. Recalibration and deadzone tuning are free and non-destructive, so they always come first, and they solve a real share of drift complaints on their own. Replacement is the rung you reach only when those stop holding.
It helps to see the whole ladder rather than jumping to the last step:
| Rung | What it does | When to move up |
|---|---|---|
| 1. Recalibrate | Re-zeroes the firmware’s idea of center | Offset returns within days |
| 2. Tune the deadzone | Masks a small steady offset in software | You are widening it every few weeks |
| 3. Replace the module | Swaps the worn potentiometer for a new one | Drift is confirmed mechanical |
| 4. Upgrade to Hall-effect | Removes the wear mechanism entirely | You want the drift gone permanently |
Rungs 1 and 2 are settings. Rungs 3 and 4 are hardware. The browser reading is how you tell which half of the ladder your controller is on, and the controller calibration tester walks through the tuning rungs before you ever pick up a tool.
How do you know the module is worn and not just miscalibrated?
You confirm wear by testing, recalibrating, and then re-testing over the following days. Open the controller tester, set the pad flat with your hands off the sticks, and read the resting X and Y values. A healthy stick sits within about 0.02 of 0.00 on both axes.
A steady offset above roughly 0.05 that a menu cursor visibly follows is the signal to investigate further.
Then recalibrate on the console or PC and read the value again. If it drops back near zero and stays there for days, calibration was the fix and you are done. If the offset creeps back or grows week over week, the potentiometer track inside the module is worn, and no amount of re-zeroing will hold it.
This is the honest limit of software. Recalibration moves the center point; it cannot rebuild a graphite track that has physically worn. The full diagnosis lives in stick drift, explained, and the repair-first options short of a swap are in how to fix controller stick drift.
What is an analog stick module, exactly?
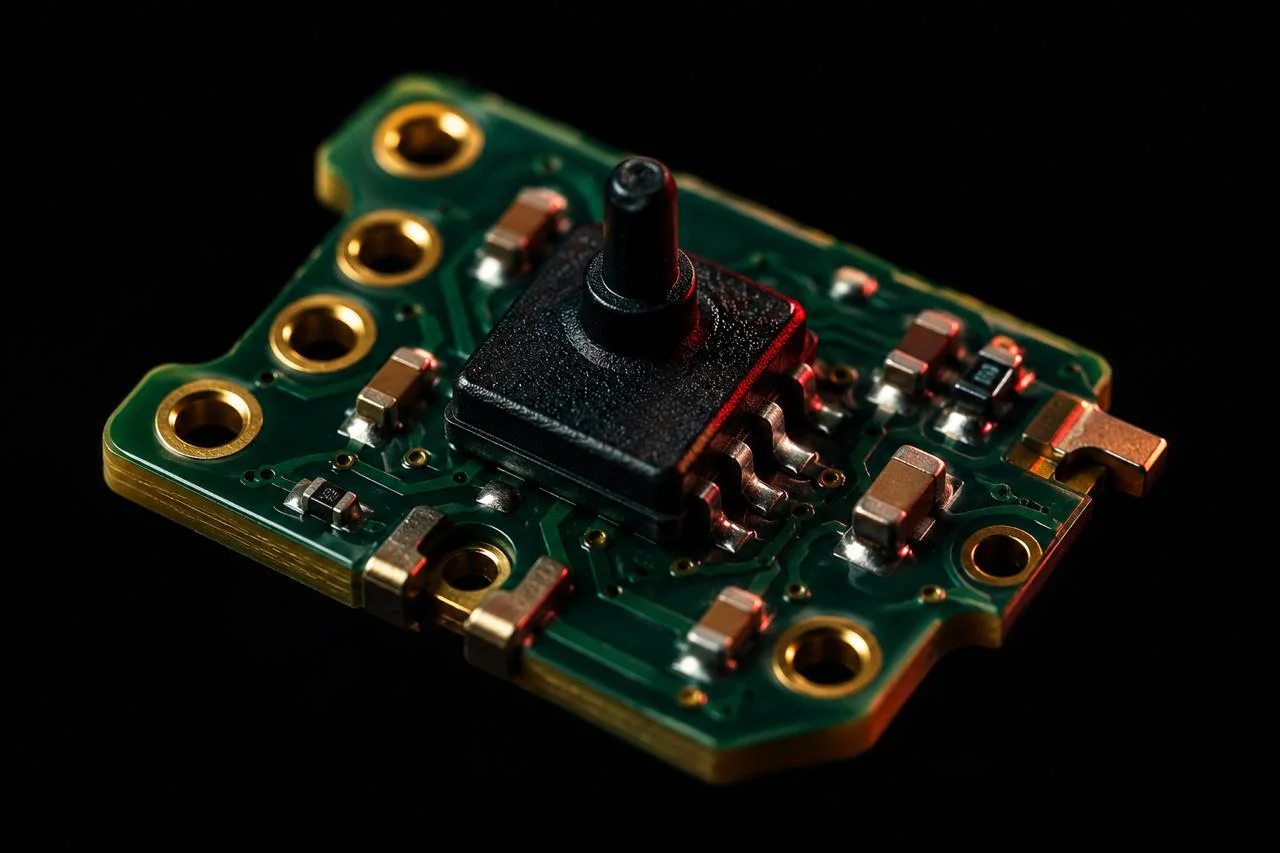
An analog stick module is the self-contained mechanism under the thumbstick that converts physical movement into the X and Y values a game reads. It is a single part you can usually replace on its own, without touching the rest of the controller’s electronics.
Most mainstream controllers ship a potentiometer module. Two small graphite tracks, one per axis, are wiped by a contact as you move the stick, and the changing resistance becomes the axis value. That contact-on-graphite design is exactly what wears, which is why potentiometer sticks drift as they age.
Hall-effect and TMR modules solve this by removing the contact. They sense the position of a small magnet with no physical wiper touching a track, so there is no friction wear to cause drift. The trade-offs between the two sensing types are covered in the TMR versus Hall-effect buying guide.
Should you replace with a standard module or upgrade to Hall-effect or TMR?
Match the part to how long you want the fix to last. A like-for-like potentiometer module is the cheapest swap and restores the pad to factory behavior, but it carries the same wear mechanism, so it will eventually drift again on the same timeline as the original.
A Hall-effect or TMR module costs a little more and, on a compatible controller, ends the drift problem rather than resetting its clock. Because the sensor is contactless, the specific failure that causes potentiometer drift does not occur. The catch is fit: you need a module designed for your exact controller, since board layout and connector differ across pads.
For most people keeping a controller they like, the upgrade is the better spend. The PS5 Hall-effect and TMR controller guide covers which pads have drop-in options today.
Can you replace an analog stick yourself?
Sometimes, and it depends entirely on whether the module is soldered. On most controllers the stick module is soldered to the mainboard through a dozen or more points, so a self-repair means desoldering the old part cleanly and soldering the new one without lifting a pad or bridging a joint. That is a real intermediate skill, not a beginner job.
A smaller but growing set of controllers and aftermarket kits use solderless, plug-in modules that seat into a connector. Those are genuinely approachable with basic hand tools and patience. Before you buy anything, confirm which type your controller uses.
If it is soldered and you have never desoldered a multi-pin part, the honest move is a repair shop. A slipped iron can kill a mainboard, which turns a fifteen dollar module into a dead controller. Test first, so you hand the shop a confirmed diagnosis and a specific stick to replace rather than a vague complaint.
How hard is analog stick replacement on each controller?
Difficulty and options vary by pad, so the right plan depends on what you own. What sets the difficulty is whether the module is soldered and how much room the shell leaves you to work. The table below summarizes the common cases, and you should always verify the module type for your exact revision before ordering.
| Controller | Module attachment | Difficulty | Hall-effect option |
|---|---|---|---|
| DualSense (PS5) | Soldered | Intermediate | Drop-in kits available |
| DualShock 4 (PS4) | Soldered | Intermediate | Drop-in kits available |
| Xbox Wireless | Soldered | Intermediate | Drop-in kits available |
| Switch Pro Controller | Soldered | Intermediate | Aftermarket options |
| Switch Joy-Con | Soldered, tight space | Advanced | Limited, check fit |
Across every one of these, the swap is the same idea: remove the shell, free the mainboard, replace the module, and reassemble. What changes is the tightness of the space and whether a Hall-effect kit exists for that pad.
Do you need to recalibrate after replacing the stick?
Always recalibrate a freshly replaced stick before you trust it. A new module ships centered to a factory reference, not to your controller’s exact assembly, so a short recalibration pass aligns the reported center with true center. Skip it and you can be left with a small offset that reads like drift on day one.
Run the pad through the calibration tester right after reassembly. If the sticks rest near 0.00 and reach full range cleanly, the swap succeeded, and if they do not, recheck your soldering or the connector seating before you close the shell for good.
Where can you buy a replacement analog stick module?
Buy from a source that lists your exact controller model and revision, because connectors and board layout differ across pads. Reputable repair-part retailers, the manufacturer’s own parts channel where available, and established teardown shops all stock stick modules, and iFixit publishes model-by-model repair guides alongside the parts.[2]
For a Hall-effect or TMR upgrade, order a kit built for your specific controller rather than a generic module. Confirm whether it is soldered or solderless before it arrives, so the right tools are ready when you start.
What does analog stick replacement cost?
Costs split into the part and the labor. A standard potentiometer module is inexpensive, and a Hall-effect or TMR module costs modestly more. If you do the work yourself, the module price plus an iron and solder you likely already own is the whole bill.
A shop repair adds labor, and that is where the math turns. On a premium controller a professional swap is worth it, but on a budget pad the labor alone can approach the price of a new controller, which makes replacing the whole unit the rational call.
The decision is not really about drift; it is about the controller’s value. Run the browser test first so you are paying to fix a confirmed hardware fault, not chasing a settings problem you could have solved for free.
Sources and references
-
W3C Gamepad API specification. The W3C standard defining analog axes as values normalized to -1.0 to +1.0 with 0.0 at the neutral center, and the poll-based interface JoyCheck reads to show the resting value that distinguishes a worn module from a calibration fault.
-
iFixit controller repair guides. iFixit’s step-by-step teardown and repair documentation for game controllers, covering shell removal, mainboard access, and stick-module replacement across major controller models.
Is it worth replacing an analog stick or should I just buy a new controller?
It depends on the controller's value. On a premium pad, a module swap is far cheaper than replacement, so it is worth it. On a budget controller, a shop's labor can approach the price of a new one, which makes replacing the whole unit the smarter spend.
Do I need to solder to replace a controller stick?
Usually yes. On most controllers the stick module is soldered to the mainboard, so replacing it means desoldering the old part and soldering the new one. A smaller set of controllers and aftermarket kits use solderless plug-in modules that need no iron. Confirm which type yours uses first.
Will a Hall-effect stick stop drift for good?
It stops the drift caused by potentiometer wear, which is the common cause. Hall-effect and TMR sensors read a magnet with no physical contact, so they lack the friction-wear mechanism that makes standard sticks drift. Other parts can still fail, but the classic drift does not return.
How do I know which stick module fits my controller?
Match it to your exact controller model and board revision, because connectors and layout differ across pads and sometimes between production runs. Buy from a retailer that lists your specific model, and for a Hall-effect upgrade, choose a kit built for that controller rather than a generic module.
Can I replace just one stick if only one drifts?
Yes. The two sticks are independent modules and wear separately based on use, so you can replace only the affected one. The left stick often wears first because movement-stick use is heavier. Re-test both after the swap to confirm the replaced side reads clean.
Do I have to recalibrate after replacing the stick?
Yes. A new module is centered to a factory reference, not to your controller's exact assembly, so recalibrate once it is installed to align the reported center with true center. Skipping it can leave a small offset that looks like drift. A quick browser test confirms the result.
How long does an analog stick replacement take?
For someone comfortable with the work, a soldered swap is roughly 30 to 60 minutes including disassembly, desoldering, soldering, and reassembly. A solderless module is faster. First-timers should budget more time and go slowly, since the risk is in rushing the desoldering and damaging the board.
Test your controller in the browser
No install, no account. Your inputs never leave your device.