PS4 Controller Calibration: Fix Dead Zone and Stick Drift
The PS4 has no calibration menu, so you calibrate a DualShock 4 one of three ways: the pinhole reset behind the L2 trigger, a dead-zone adjustment in DS4Windows or Steam Input on a PC, or a browser recalibration tool. Measure the resting stick values in a tester first, then re-check them to confirm the fix held.
PS4 controller calibration without a menu: pinhole reset, DS4Windows dead zone, Steam Input, and gyroscope recalibration. These methods actually work.
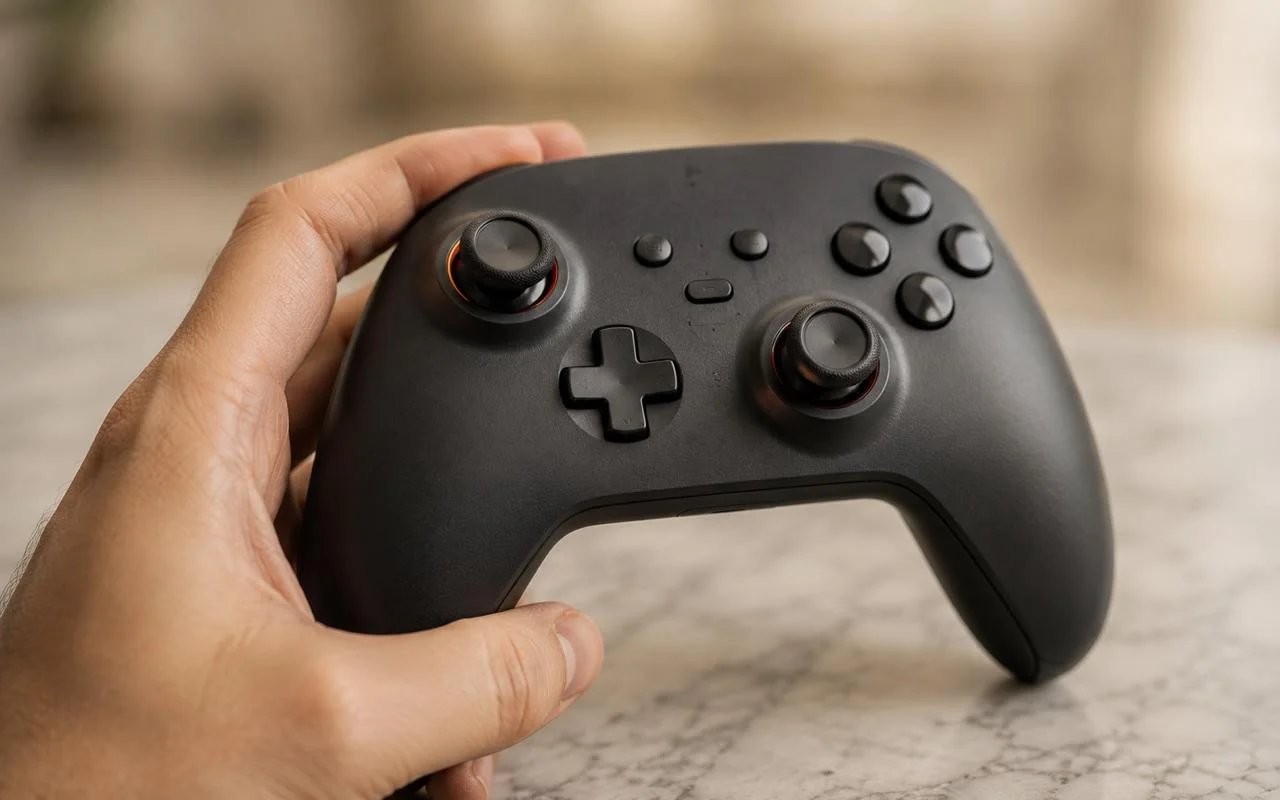
Calibrating a PS4 controller is the process of resetting its analog sticks to a true neutral so dead zones and minor stick drift are corrected without new hardware.
No calibration menu has ever shipped on the PS4, but four working methods close the gap. Pick by the number you measure at rest, not the one a forum quotes.
Key takeaways
- The PS4 system software has no built-in calibration menu; the only console-side fix is the recessed reset switch near the L2 trigger.
- Pick the method by measured drift: the pinhole reset for light drift or pairing faults, DS4Windows or Steam Input on a PC for dead-zone tuning.
- For motion games, re-zero the gyroscope flat on a table.
- Measure at rest in a browser tester first, so the number rather than the symptom picks the fix.
- If a stick keeps drifting after every method, the potentiometer is worn and needs replacement, not calibration.
◆ VERIFIED
The PS4 system software exposes no controller calibration menu. Sony documents one console-side fix on the DualShock 4: the recessed reset switch near the L2 trigger, intended as a factory recovery when the pad pairs unreliably or fails to respond.
Source: Sony PlayStation Support, Reset the DualShock 4 wireless controller
TL;DR: five things that matter
- PS4 has no calibration menu; Sony never added one and never will.
- Measure at-rest stick values first. Below 0.03 is healthy; between 0.05 and 0.15 is treatable.
- The pinhole reset behind L2 fixes pairing faults and light drift in ten seconds.
- DS4Windows or Steam Input lets you set the dead zone on a Windows PC, free.
- Above 0.15 at rest means a worn potentiometer. Software hides it; hardware fixes it.
Can you actually calibrate a PS4 controller?
Yes, but not the way the question implies. The PS4 system software ships no calibration menu, so calibration on a DualShock 4 means one of three things: a pinhole reset on the controller body, dead-zone tuning in DS4Windows or Steam Input on a Windows PC, and a flat-table gyroscope re-zero for motion games. [1]
None of these methods rebuild a worn potentiometer. The carbon track inside each stick module degrades with use, and software cannot reshape worn graphite. It can shift where the at-rest baseline sits, or widen the deadband around it, and nothing more.
The PS5 added an in-OS stick re-zero in system software 24.06 (June 2024), but that update did not back-port to the PS4. The console reached end-of-major-update before any equivalent menu shipped, and it never will. [1]
How do I measure stick drift before I calibrate?
Open a browser-based controller calibration tester, connect the DualShock 4 by USB or Bluetooth, press any face button to wake the W3C Gamepad API, then rest the controller flat with both thumbs off both sticks. [5] Read the X and Y values. Healthy controllers settle between 0.00 and 0.03 at rest.
Above that, three bands tell you which fix to try:
- 0.00 to 0.03: healthy, no drift. Do nothing.
- 0.05 to 0.15: treatable by software. A dead-zone adjustment in DS4Windows or Steam Input hides it cleanly.
- Above 0.15: hardware fault. The potentiometer is mechanically worn, and software is a placebo at this stage.
The middle band is where this article matters. Below it, the controller does not need calibration. Above it, calibration is theatre: skip the next four sections and go straight to the stick drift diagnosis guide, then the TMR vs Hall-effect sensor buying guide, or the PS4 controller repair guide if the stick module needs replacing.
“Once a DualShock 4 reads past about 0.15 at rest, you are almost always looking at a worn potentiometer, not a calibration problem. Recalibration buys a little time; it cannot rebuild a worn carbon track.”
Taimoor Bamazai, founder, Elites Algorithm Limited
How does the back-of-controller pinhole reset work?
Flip the DualShock 4 over and look for a 1mm hole near the left side of the L2 trigger. Behind it sits a recessed reset switch that wipes the controller’s stored pairing state and re-runs initial calibration on the next power-on. [1] Sony documents it as the factory recovery for a pad that pairs unreliably.
- Turn the controller off. Hold the PS button until the light bar goes dark, or unplug it if it is on USB.
- Insert a paperclip or SIM-eject tool into the pinhole. Press firmly for five seconds.
- Reconnect by USB to your PS4 or PC. Press the PS button to power back on.
What this fixes: light drift after long sessions, sticks that feel slightly off-center, light-bar pairing problems, and controllers that wake into the wrong player slot.
What it will not fix: worn potentiometers, snapped stick shafts, water damage, or broken button contacts. None of those care about a reset.
Re-test in a browser tester. If at-rest readings dropped near zero, you are done. If they are still drifting, the reset succeeded but your sticks have moved past where firmware can compensate.
How do I set the dead zone in DS4Windows on a PC?
DS4Windows has been the PC calibration tool for the DualShock 4 since 2015. The actively maintained build is Ryochan7’s fork on GitHub [2]; everything else is dead or a wrapper. It installs as a Windows utility that intercepts the controller’s HID input, applies dead-zone and curve settings, and emits XInput so games see the pad as an Xbox 360 controller.
Install DS4Windows
Pull the latest release from the official Ryochan7 GitHub repository. Avoid mirror sites and bundled installers: the modder community has flagged repackaged versions shipping with adware since 2019. Extract the zip, run DS4Windows.exe, and allow it through Windows Defender if prompted.
Open the controller profile
Plug in. DS4Windows lists the connected controller in its main panel. Click Edit on the default profile, then open the Sticks tab to expose the dead-zone and anti-dead-zone sliders.
Two settings matter: Dead Zone and Anti-Dead Zone, available for the left and right sticks separately.
Most guides tell you to raise the dead zone until drift disappears. That is wrong. The right end-state is the lowest dead zone that fully masks your measured at-rest reading.
Tune and verify
Start at 0.05 and re-test in a browser tester. If at-rest values still climb above zero on either axis, raise to 0.08, then 0.10, and stop the moment readings stay flat.
Save the profile, return to the main panel, and click Apply. Reopen the tester: the sticks should read 0.00 at rest, then jump cleanly above the dead-zone threshold the moment you push them.
For a fix that persists on the console itself, the open-source DualShock calibration tool rewrites the stick center and range stored on the controller over WebHID, rather than filtering input per session the way DS4Windows does. [6] It runs locally in the browser, so nothing uploads. Because it changes the controller’s own stored calibration, verify the result afterward: re-open JoyCheck and confirm the resting values dropped and the sticks still reach full range.
Does Steam Input calibrate a PS4 controller too?
Yes, and for Steam games it is the simpler path. Steam Input applies per-game dead-zone settings, supports the DualShock 4’s touchpad and gyroscope natively, and ships inside the Steam client you already have installed. [3] If most of your PC library lives on Steam, skip DS4Windows entirely.
- Open Steam Desktop. Go to Settings, Controller, and switch on “PlayStation Configuration Support”.
- Connect the DualShock 4 by USB or Bluetooth. Steam recognises it as a Sony PlayStation 4 controller.
- Per game: right-click the title in your library, open Properties, Controller, and set “Override for this game” to a default or custom configuration.
- In Big Picture mode: Settings, Controller, DualShock 4, Calibration. Move the left and right stick dead-zone slider to roughly 0.08 as a starting point.
The trade-off: Steam Input applies only to games launched through the Steam client. Epic Games Store, GOG, standalone installers, and the PS4 console itself see none of these settings. For those, fall back to DS4Windows or the pinhole reset.
Key fact: for a two-year-old DualShock 4 with light drift, the dead-zone working range lives between 0.08 and 0.12, with Anti-Dead Zone at 0.15 to 0.20 to keep start-of-movement responsive. Above 0.15 on a controller under three years old, you are masking a hardware fault, not calibrating.
How do I calibrate the gyroscope on a DualShock 4?
Lay the controller flat on a level table, light bar facing up, then leave it untouched for thirty seconds while powered on. The internal six-axis IMU re-zeroes its baseline on a stable surface, and the next motion read reflects the new zero.
Symptoms that point to gyroscope drift, not stick drift, show up only in motion-aim games: aim creep in Days Gone, horizon tilt in The Last of Us Part II, and cursor wander in Astro’s Playroom on PS5 with a DualShock 4 connected.
If you do not play motion-control games, skip this section. The gyroscope re-zero only affects IMU-driven input. Analog stick drift sits on different sensors entirely, so nothing in this method touches it.
Why does my PS4 controller drift even after calibration?
Because the potentiometer is mechanically worn. Software calibration shifts where the at-rest baseline sits, or widens the deadband around it, but it cannot rebuild a degraded carbon track. Once at-rest values keep climbing above 0.15 after every software method, the part has reached the end of its precision life.
Repair options, cheapest to most reliable:
- Compressed air plus 90 percent isopropyl alcohol (about $5, roughly a one-in-ten success rate). Puff air around the stick base, dab IPA on the shaft with a cotton swab, and work the stick through its full range twenty times. It rarely saves a worn part, but it is worth one attempt.
- OEM stick module replacement ($8 to $15 per module, soldering required). The DualShock 4 uses Alps RKJXV-class modules. iFixit sells replacements and a controller teardown guide. [4]
- Hall-effect aftermarket modules ($20 to $40, soldering required). GuliKit, eXtremeRate, and KK3 are drift-free by design, because magnetic field sensors replace the carbon-track potentiometer. See the TMR vs Hall-effect sensor buying guide for the engineering trade-off.
- Replacement controller ($35 to $70). The DualShock 4 v2 (CUH-ZCT2) is the simplest path if you do not solder. Reputable refurbishers list used pads at $25 to $35.
Honest call: if you already own a soldering iron and have done at least one through-hole repair, the Hall-effect path wins on lifetime cost. If you have never soldered and your hourly rate is anything north of minimum wage, buy a new controller.
What about the DualSense on PS5? Does the same fix work?
No, the workflow differs. The PS5 added a stick re-zero in system software 24.06 (June 2024), so the DualSense has an in-OS calibration menu the DualShock 4 never received. [1]
For DualSense drift, that menu is your first stop, not DS4Windows. See the DualSense calibration guide for the PS5 version of this workflow.
What carries over from the PS4: measure first in a browser tester, treat at-rest readings above 0.15 as a hardware signal, and choose the repair path on cost-of-time math rather than the loudest forum post. What does not carry over: the pinhole on the DualSense is a hard reset, not a calibration recovery, and dead-zone tuning on PS5 happens in the system menu rather than in DS4Windows.
Why re-test after every method instead of stacking them?
In our analysis of recurring drift cases, calibration only counts if you can measure the result. Run the same thirty-second test after every method: tester open, hands off the sticks, watch X and Y at rest. Fix, re-test, confirm.
If readings are still off, escalate to the next method on the ladder rather than layering more software on top.
A controller you can measure is a controller you can repair. A controller you guess about is one you replace prematurely, and most premature replacements happen in that order.
The Gamepad API exposes raw analog values to any modern browser, so the test costs nothing beyond a USB cable. [5]
See how JoyCheck reads your controller if you want to know which API calls drive the at-rest number on the screen.
Sources and references
- Sony PlayStation Support, Reset the DualShock 4 wireless controller. Sony’s official guidance on the recessed reset switch and DualShock 4 troubleshooting.
- DS4Windows maintained fork on GitHub. The actively maintained Windows utility for DualShock 4 dead-zone tuning, curves, and XInput emulation.
- Valve Steam Input, PlayStation Configuration Support announcement. Steam’s native DualShock 4 support, including per-game dead-zone calibration and gyroscope handling.
- iFixit, Sony DualShock 4 Slim Controller Joystick Replacement guide. Step-by-step teardown for OEM Alps stick-module replacement, including soldering notes.
- W3C Gamepad API specification. The browser standard that exposes raw analog stick values, the source of the at-rest measurement used throughout this article.
- DualShock Calibration Tool (dualshock-tools.github.io). Open-source, browser-based WebHID tool for rewriting DualShock and DualSense stick center and range calibration.
Does the PS4 have a built-in calibration menu?
No, and it never will. The PS4 system software has never exposed a controller calibration menu in any firmware revision since the console's 2013 launch. The console is past end-of-major-update. Calibration on the DualShock 4 happens through the back-of-controller pinhole reset, DS4Windows on a PC, or Steam Input for games launched through Steam. The PS5 added an in-OS calibration menu in firmware 24.06 (June 2024), but that update did not back-port to the PS4.
How do I reset a DualShock 4 controller?
Locate the small pinhole on the back of the controller near the L2 trigger. With the controller powered off, insert a paperclip and press the recessed reset button for five seconds. Reconnect by USB cable to your PS4 or PC and press the PS button. The reset wipes the stored pairing state and re-runs initial calibration on power-on. Sony's official reset documentation includes the exact diagram.
Will calibrating fix PS4 controller drift?
It depends on what you measure. For early drift with at-rest readings of 0.05 to 0.15, a dead-zone adjustment in DS4Windows or Steam Input hides the symptom cleanly. For severe drift above 0.15, no. The potentiometer is mechanically worn at that point. Software cannot rebuild a degraded carbon track. You need a stick module replacement, a Hall-effect swap, or a new controller. Anyone telling you "just raise the dead zone higher" is masking the problem, not fixing it.
What is the best dead zone setting for a PS4 controller?
The lowest setting that fully hides your measured at-rest reading. Concrete numbers: for a healthy controller, 0.05 to 0.10. For a two-year-old DualShock 4 with light drift, 0.08 to 0.12, with Anti-Dead Zone at 0.15 to 0.20 to keep start-of-movement responsive. Above 0.15 the controller starts to feel mushy on small inputs, and above 0.20 you lose precision in FPS and racing games. If you are tuning higher than 0.15 on a pad under three years old, treat the underlying drift as a hardware fault.
Can I calibrate my PS4 controller without a PC?
Only the pinhole reset and the gyroscope re-zero. Both are real fixes for specific problems, but neither adjusts dead zones. Dead-zone tuning requires Windows software because the PS4 console itself exposes no calibration menu. No access to a Windows machine means the soft reset is your only software option. Everything beyond that becomes a hardware decision: clean the stick, swap the module, or replace the controller.
How do I recalibrate my PS4 controller?
Start with the pinhole reset behind the L2 trigger: power the pad off, press the recessed button for five seconds, then reconnect by USB. For dead-zone drift, tune it in DS4Windows or Steam Input on a PC, or use a browser recalibration tool. Re-check the resting values in a tester after each step.
Is the DualShock calibration GUI safe?
The community DualShock calibration tool (dualshock-tools.github.io) is open-source and runs locally in your browser over WebHID, so nothing uploads and the code is auditable. It writes stick center and range values to the controller itself, not the console, and a bad write is reversible with the pinhole reset. Verify the result afterward in a tester.
Test your controller in the browser
No install, no account. Your inputs never leave your device.